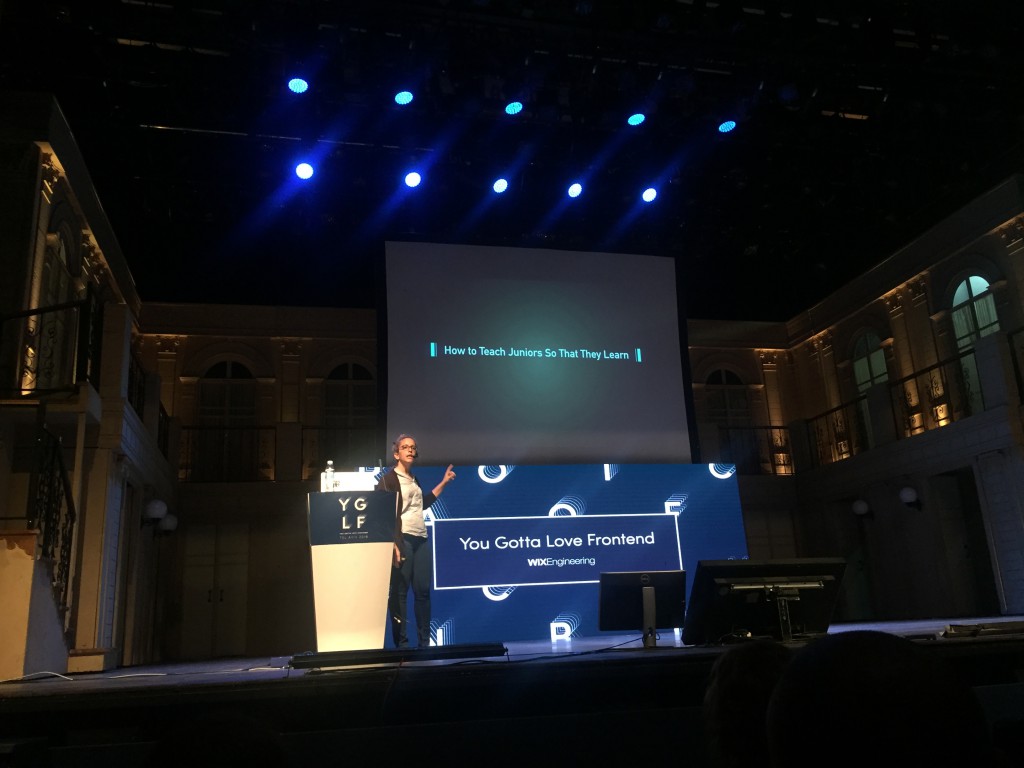
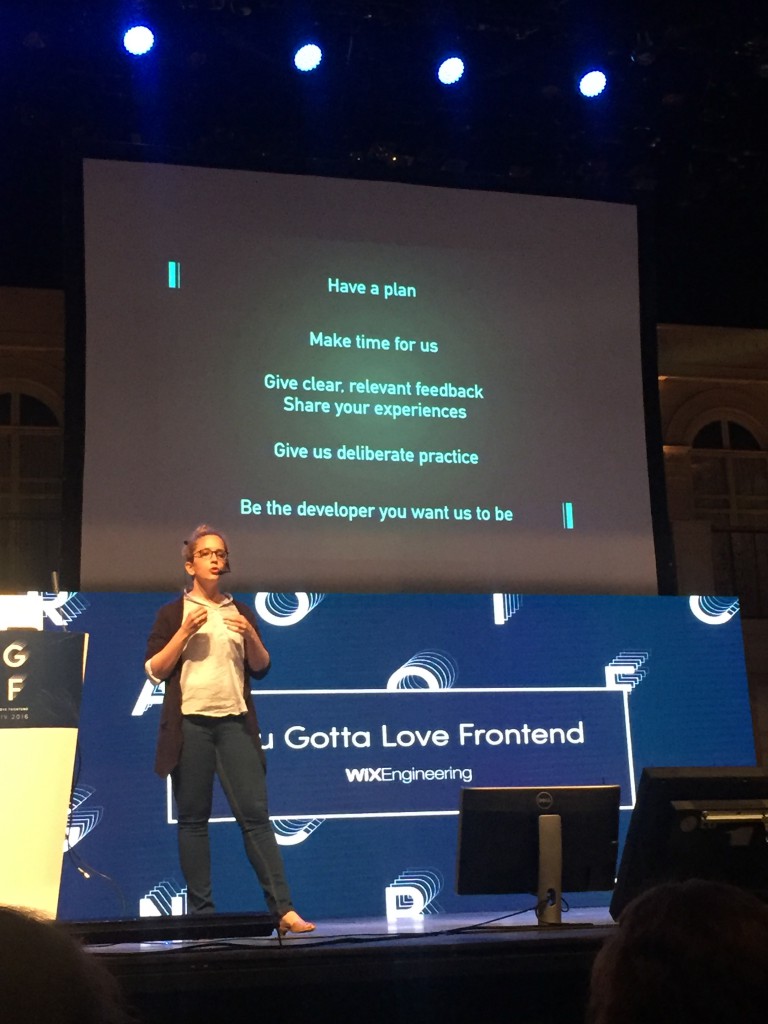
You Gotta Love FrontEnd 2016.
What an awesome convention it was! Best talks and speakers in town, awesome people and friends 😃


Yet another lovely hackathon! This time it was all about React Native at Facebook TLV.
Thanks for my awesome teammates Jeny & Lior!


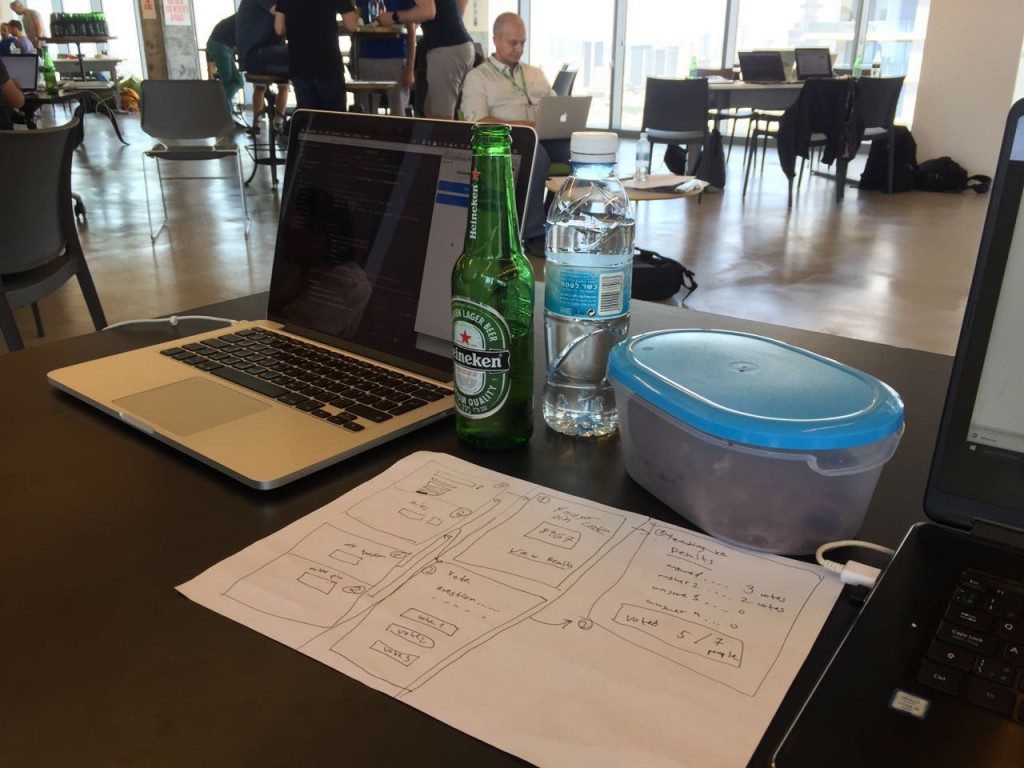

A brief description of the project at hand:
The task is to move existing sections that were built on top of RoR, with assets served with the rails asset pipeline. the files should be completely independent, loaded in a smart & efficient way.
The stack we decided to use was React with Redux, and Webpack as our build tool.
At first we started working with the standard redux structure, that goes like this:
It felt like a good start, because everything, literally – was in one place. all reducers, all actions, all components – in one place. it was quite easy to kick start and dive into work.
but, as the application grew, and more components were added, we reached to a point where the navigation in the code became complex and time consuming.
at this point we decided to look for a better solution.
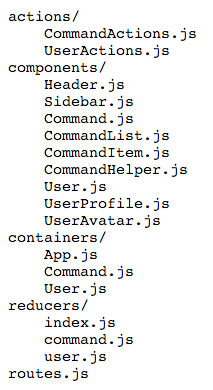
The best solution we found for our needs was to use what’s called a folder by domain/feature structure, which looks like this:
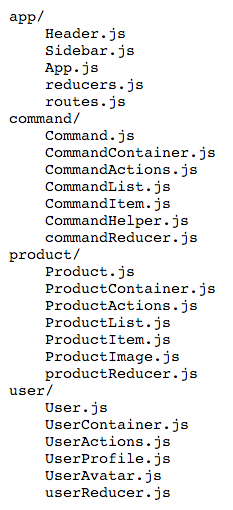
Inspired by this lovely article.
It allows us to better consolidate components, and their respective actions, reducers and constants. basically a complete separation of mostly independent components.
Another perk by using this approach – the navigation in your IDE became much easier, and you don’t have to rely on seeing in which directory your file is located.
dependencies file – will hold any cross section relevant dependancies, like react, react-dom, react-router, isomorphic-fetch, etc.
section file(s) – each file will be name as react-<section>.js and will hold only it’s section relevant code.
entry: {
    killer_feature: './src/killer-feature/router',
    dependencies: [
        'react',
        'react-dom',
        'react-router',
        'redux',
        'react-redux',
        'redux-thunk',
        'immutable',
        'es6-promise',
        'isomorphic-fetch',
        'history/lib/createBrowserHistory'
    ]
},
output: {
    path: './build/',
    filename: "react-[name].js.erb"
}
The snippet above contains these entry points:
“killer_feature” – a section file entry point, in our case it’s the router config file that handles the killer_feature’s routes
“dependencies” – a list of all global modules that will be used by all other sections, like our killer_feature
and the output will be:
react-killer_feature.js.erb
react-dependencies.js.erb
* note the .js.erb suffix – it’s ruby on rails file, that outputs as an ordinary .js file
2. externals configuration
externals are modules that we don’t want to include in our webpack build, but we do want it to be accessible from within our modules.
in my case I need lodash to be external, as it’s already being loaded in the rails app (not covered here)
externals: {
    'lodash': '_'
}
the ‘_’ is the object name by whom it will be referenced.
3. WebPack plugins
List of plugins that are used to optimize webpack’s output.
plugins: [
     new webpack.ProvidePlugin({
         React: 'react',
         ReactDOM: 'react-dom',
         ReactRouter: 'react-router',
         ReactRedux: 'react-redux',
         Redux: 'redux',
         ReduxThunk: 'redux-thunk',
         Immutable: 'immutable',
         fetch: 'isomorphic-fetch',
         Autocomplete: 'react-autocomplete'
     }),
     new webpack.DefinePlugin({
         'process.env': {
             'NODE_ENV': JSON.stringify('production')
         }
     }),
     new webpack.optimize.OccurrenceOrderPlugin(),
     new webpack.optimize.DedupePlugin(),
     new webpack.optimize.CommonsChunkPlugin({
         name: 'dependencies',
         minChunks: Infinity
     }),
     new webpack.optimize.UglifyJsPlugin({
         test: /\.js\.erb/i,
         output: {
             quote_style: 3
         },
         compressor: {
             warnings: false
         }
     })
 ]
a few words about the used plugins:
ProvidePlugin – allows us to provide the modules in the list as plugins, available globally in any file, instead of requiring them every time at the top of each file. we do that for our dependancies files. (not recommended to use for non globally used files).
DefinePlugin – defines a global variable, that holds our NODE_ENV var. to be used to separate production/dev/test builds for instance.
OccurrenceOrderPlugin – Assign the module and chunk ids by occurrence count. Ids that are used often get lower (shorter) ids. This make ids predictable, reduces to total file size and is recommended.
DedupePlugin – Search for equal or similar files and deduplicate them in the output.
CommonsChunkPlugin – Allows webpack to determine commonly used chunks of code, and pull them into a single separate file.
UglifyJsPlugin – Minifies & uglifies the output, reduces the output size drastically.
for further reference, check this doc: https://webpack.github.io/docs/list-of-plugins.html
On Feb. 19-20, 2016, once again – I was lucky enough to participate in Geekcon Pets Hackathon.
This hackathon did not revolve around prize(s), but rather pure fun experience to try and conceive a product that somehow will help pets and their owners.
We were a team of 5; Liat, Natanel, Elad, Rafi & I.
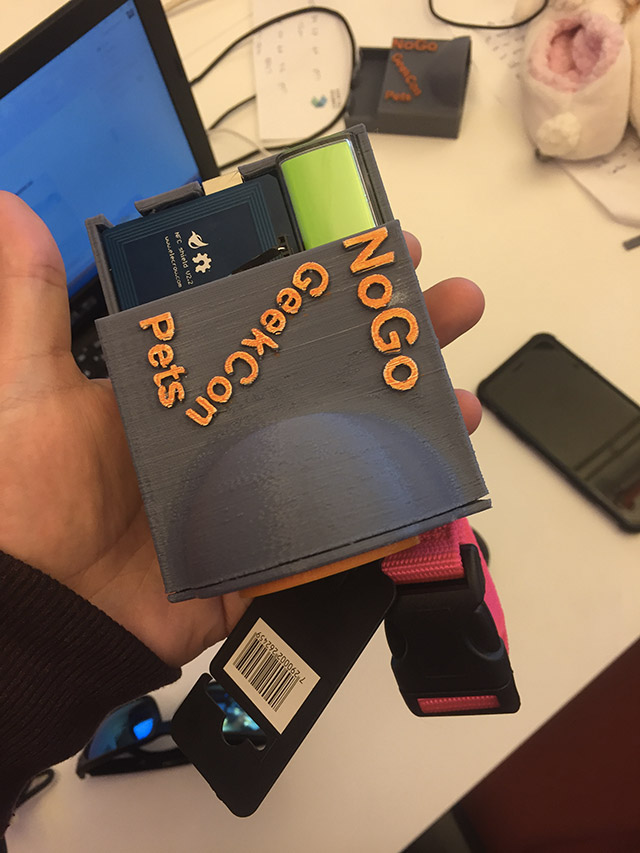
And the product we decided to work on, was a smart collar that will sound an alarming sound, or the dog’s owner’s voice, whenever the dog gets near “forbidden” areas – a sofa for example. or your slippers.
We decided to call it the NoGo Collar.
Most of us had very little experience with physical products development & Arduino, so in terms of learning new tech – it was a blast!
![]()
We used Arduino as our main board, on top of it we used NFC shield, an SD card reader, an external scrap speaker and a bunch of Passive tags to trigger the alarm.

And to wrap it all up, we used a 3d printed fancy packing.
We had a lot of fun during this experience, and you can judge it yourself by the pics & the video attached!
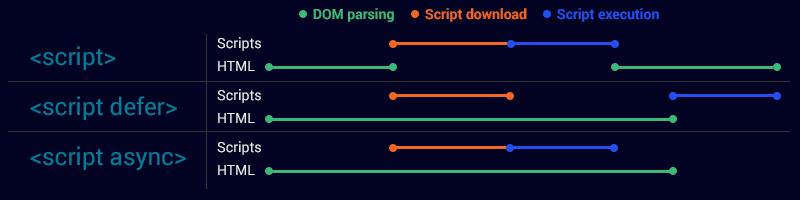
As part of the HTML5 spec, there are two attributes that allow control over when and how JS scripts are executed:
<script src="plugins.js"></script>
When no script control presents – The script is downloaded and executed immediately, before the browser continues parsing the page.
<script src="plugins.js" defer></script>
Adding the defer attribute tells the browser to wait with executing the script until it finishes processing the document. commonly used when the script to be loaded is reliant on the DOM structure.
<script src="social-plugins.js" async></script>
Adding the async attribute tells the browser that the script can be safely executed asynchronously. that’s good in cases where the script can act as a stand-alone script which does not rely on the DOM being ready first.
JavaScript loading time is a point in time of the loading & execution of the page in where another JS script could be injected.
There are multiple loading times, and each of them should be used wisely, in order to achieve the fastest loading times of your app.
Script files loaded in the <head> prevent the document body from rendering, which results in a blank page being displayed to the user while the browser waits to download and execute the script.
This is commonly known as JavaScript blocking.
As such, most web applications will only load script files in the <head> if it’s absolutely necessary for the script to do its job – for instance, analytics software that tracks user behaviour needs to be loaded as early as possible in order to accurately track everything.
Loading your JS files at the bottom of the <body>, right after the content, allows the page to render completely before starting to download and execute javascript. by rendering I mean loading all of the html & images.
This loading method is considered as one of the best practices in JS loading times. In this area you should include all of the scripts that are necessary to be on the page at the page load – for example JS libraries like jQuery.
The most important thing to remember about this loading time – make sure you load the bare minimum required code for functionality. any other code should be loaded on demand.
The load event – is triggered after the HTML & JS within the <body> has finished loading & executing.
At this point the browser is no longer “busy”, and it would be a good time to load non core functionality code.
for example – chat widget, feedback form, etc…
In order to load scripts on demand you should use a simple loading tool like RequireJS.
Loading on demand can happen at any point in time, based on how the user is interacting with the application. it will be done the same way as loading scripts on the window.load event, using a script loader.
This method is very useful when certain functionality is not needed when you load the page, but only on certain cases. For example: only when a user focuses on the search input, we will load the autocomplete functionality.
Yesterday (Nov. 19, 2015) I’ve had an opportunity to participate in the Gee.kim 2015 Hackathon.
It was an amazing experience, and a chance to meet some awesome people!
Our app won the 1st prize – a PS4 for the group, and Xiaomi Yi Sport & a movie ticket for each one of us 😀
Thanks to Eli, Elad, Liat & Yoray – it was superb.
The hackathon subject was to come up with Apps that will help with the cost of living in Israel.
After dropping the ideas we originally came with, we ended up with a completely new one:
Feed.me – An app that allows restaurants, shops & individuals to give away, or sell in a very attractive price, food that is bound to be disposed in a day or two.
The app allows people to find relevant places in their nearest environment.
you can have a look at it here: feedme-app.herokuapp.com
and our git repo: github.com/dimafeldman/Feed.me
BackEnd – nodeJS, mongo
FrontEnd – AngularJs & Angular Material
Feel free to fork & extend it…
And again, thanks for the best team ever!


Unfortunately i’m not in the pic with the prizes… had to leave early in order to catch a train home 😋
srcset is an attribute, very similar to src which is being set on the <img> tag.
srcset allows you to define a “set” of sources of images that will be served according to certain rules.
A simple & very useful example, would be this:
<img src="pic.jpg" srcset="pic.jpg 1x, pic-2x.jpg 2x">
Note the 1x & 2x – this basically allows us to set a different image according to the relevant pixel density.
The nice thing about srcset, is that it both degrades gracefully to use src if the browser lacks support & the browser is smart enough to only load the relevant image.
This blog is a collection of tips & notes from my personal experience in my vast adventure in the Front End development field.
The notes will mostly be stuff that I would like to remind myself, and that I believe might come in handy for others too.